Frontend & UI / Django-E-Commerce
Django E-Commerce
A website for E-Commerce, With Login Authentication, Feedback/Contact form receiving in the backend, and Image generation using API, All built over Django
Open the full technical write-up
A modern, responsive e-commerce website built with Django featuring user authentication, product showcase, and contact forms.
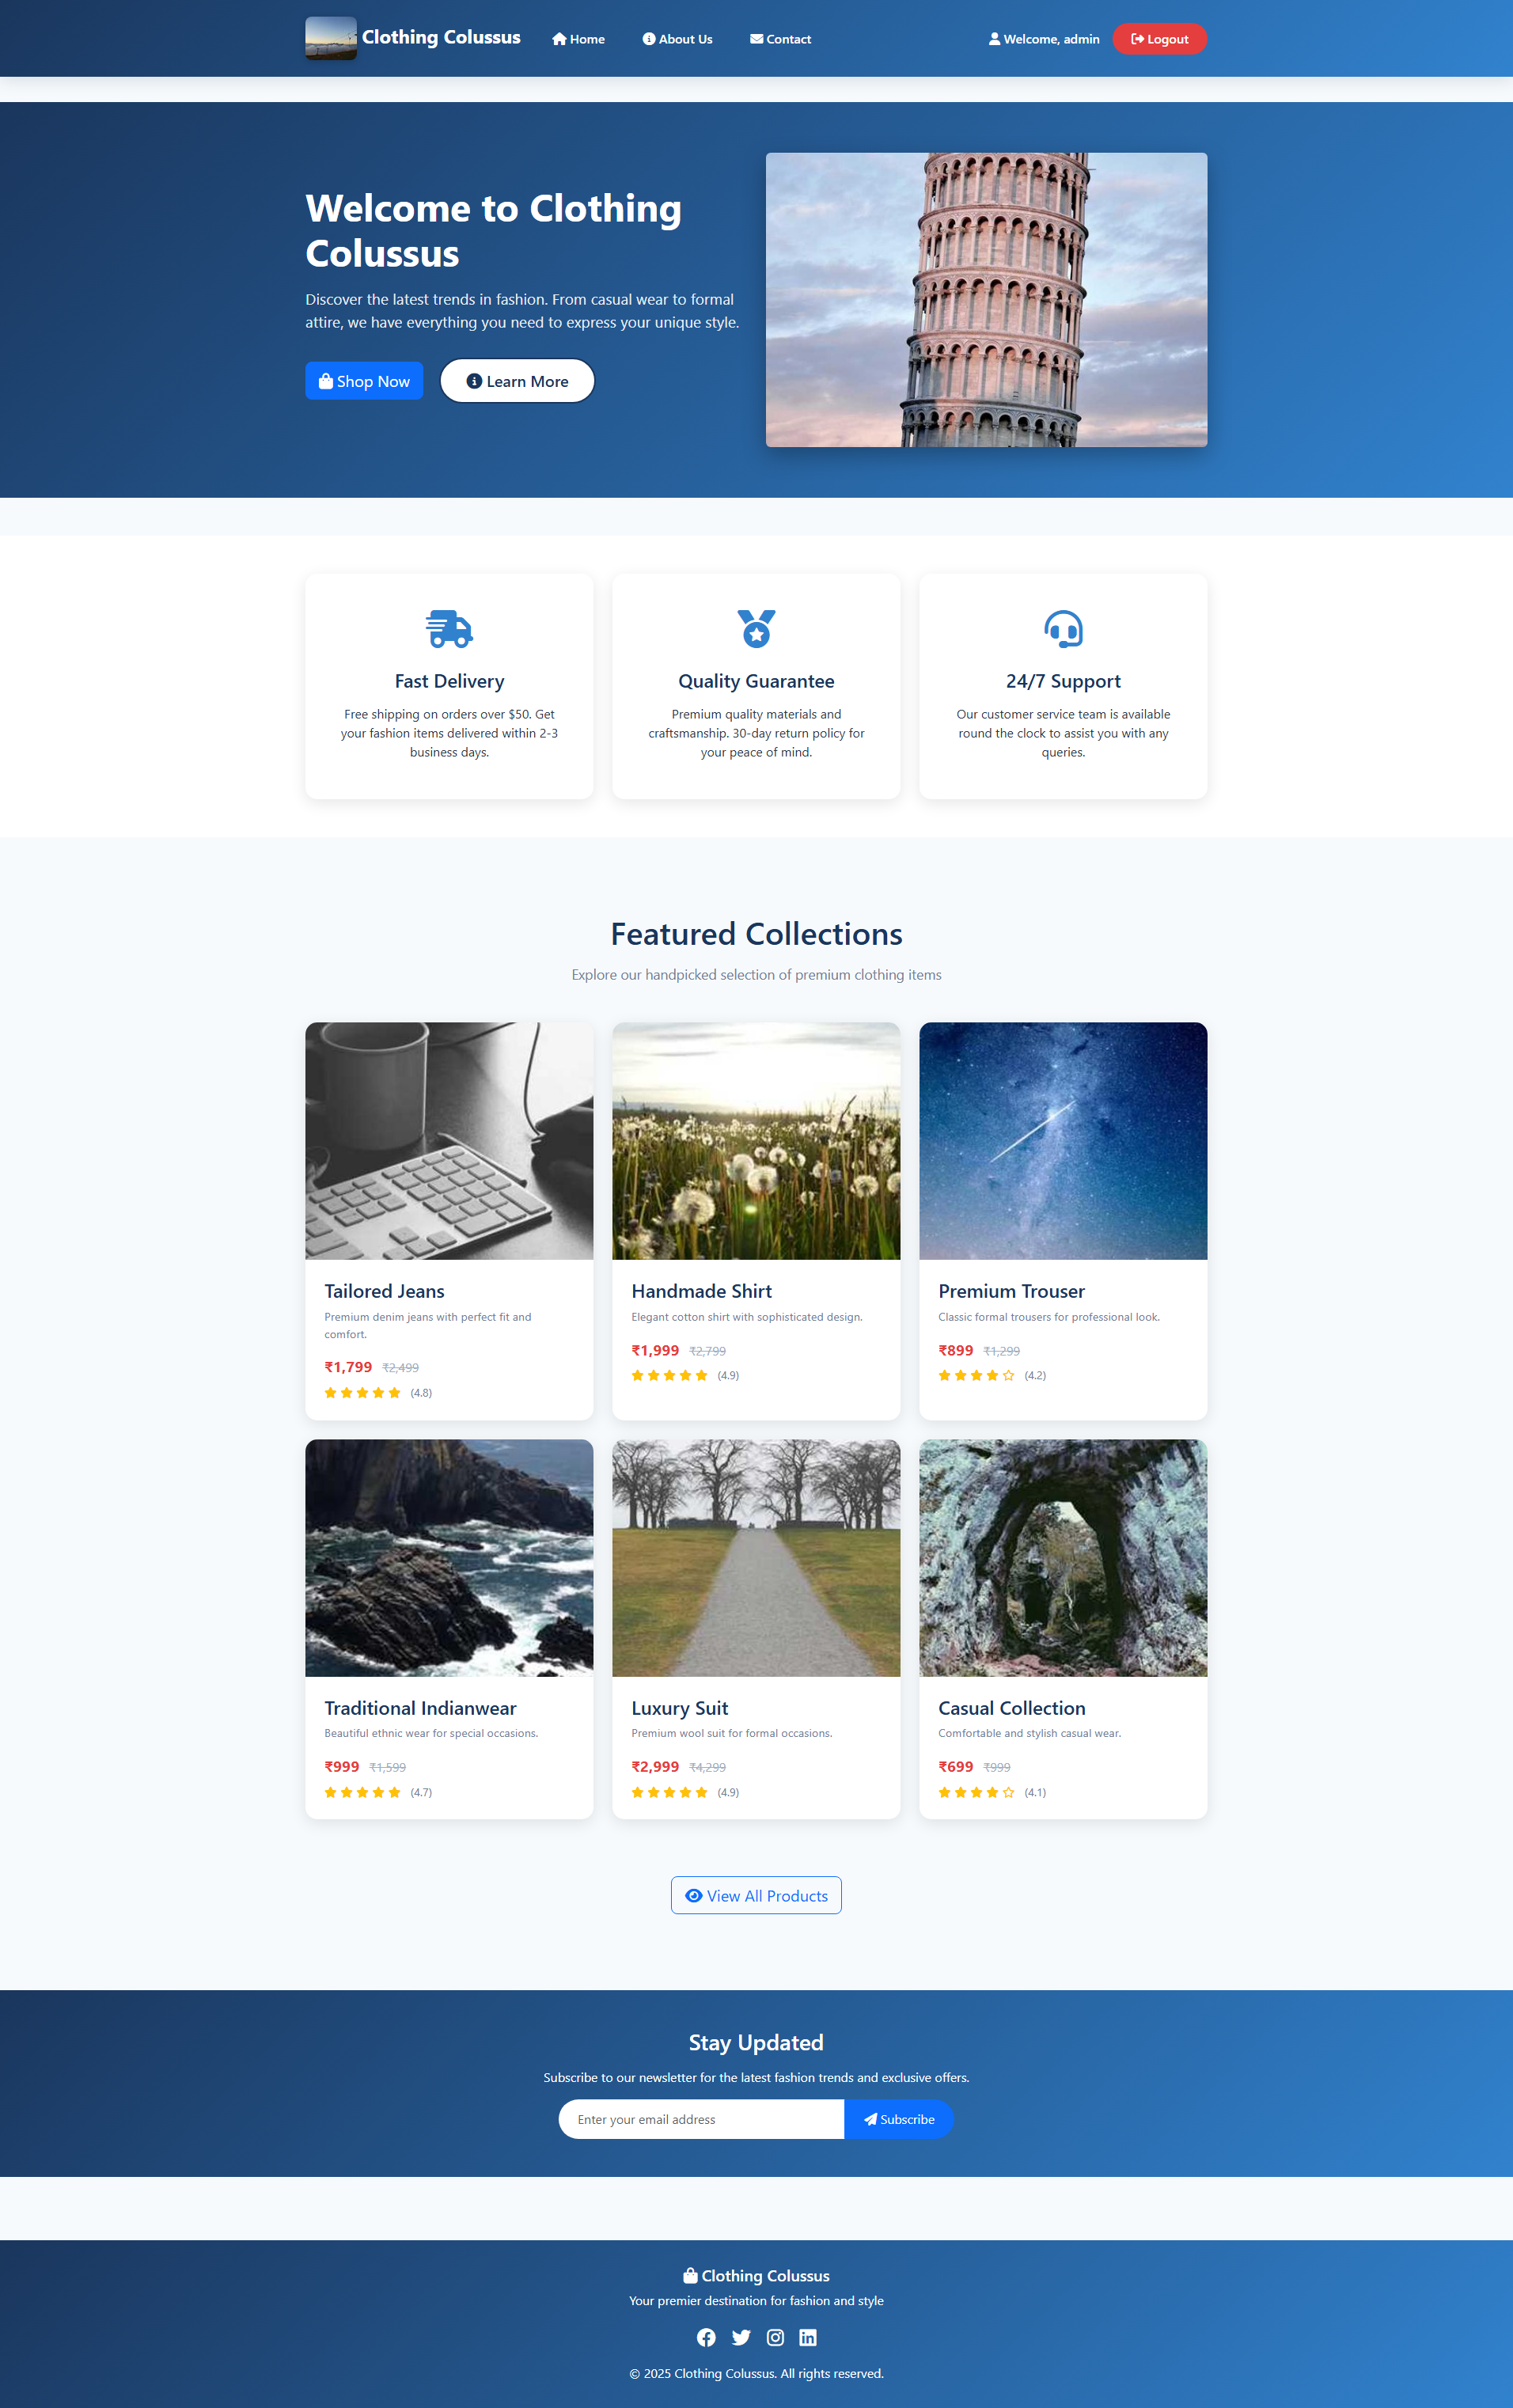
What the project includes
- Modern UI/UX Design: Clean, responsive design with Bootstrap 5 and custom CSS
- User Authentication: Login/logout functionality with Django's built-in auth system
- Product Showcase: Beautiful product cards with hover effects and ratings
- Contact Form: Functional contact form with backend processing
- Stock Images: Uses Picsum Photos for reliable, high-quality stock images
- Responsive Design: Mobile-friendly layout that works on all devices
- Professional Styling: Modern color scheme with CSS variables and gradients
Technologies Used
- Backend: Django 4.x
- Frontend: HTML5, CSS3, JavaScript
- CSS Framework: Bootstrap 5.3.0
- Icons: Font Awesome 6.4.0
- Images: Picsum Photos (stock images)
- Database: SQLite (default Django database)
Prerequisites
Before running this project, make sure you have the following installed:
- Python 3.8 or higher
- pip (Python package installer)
- Git
Installation
-
Clone the repository
git clone https://github.com/Tuhin-SnapD/Django-E-Commerce.git cd Django-E-Commerce -
Create a virtual environment
python -m venv venv -
Activate the virtual environment
On Windows:
venv\Scripts\activateOn macOS/Linux:
source venv/bin/activate -
Install dependencies
pip install -r requirements.txt -
Run database migrations
python manage.py makemigrations python manage.py migrate -
Create a superuser (admin)
python manage.py createsuperuser -
Run the development server
python manage.py runserver -
Open your browser and navigate to
http://127.0.0.1:8000/index
How files are organized
Django-E-Commerce/
├── home/                    # Main Django app
│   ├── migrations/         # Database migrations
│   ├── admin.py           # Admin configuration
│   ├── apps.py            # App configuration
│   ├── models.py          # Database models
│   ├── tests.py           # Test cases
│   ├── urls.py            # URL routing
│   └── views.py           # View functions
├── mysite/                # Django project settings
│   ├── __init__.py
│   ├── asgi.py           # ASGI configuration
│   ├── settings.py       # Project settings
│   ├── urls.py           # Main URL configuration
│   └── wsgi.py           # WSGI configuration
├── static/               # Static files
│   └── css/             # CSS stylesheets
├── templates/            # HTML templates
│   ├── base.html        # Base template
│   ├── index.html       # Home page
│   ├── about.html       # About page
│   ├── contact.html     # Contact page
│   └── login.html       # Login page
├── manage.py            # Django management script
├── requirements.txt     # Python dependencies
└── README.md           # This file
Pages
- Home Page (
/index): Landing page with hero section, features, and product showcase - About Page (
/about): Company information, mission, vision, and team details - Contact Page (
/contact): Contact form and company information - Login Page (
/login): User authentication
Configuration
The project uses Django's default settings. Key configurations can be found in mysite/settings.py:
- Database configuration
- Static files settings
- Template settings
- Installed apps
Deployment
This project can be deployed to various platforms:
Heroku
- Create a
Procfilewith:web: gunicorn mysite.wsgi - Add
gunicornto requirements.txt - Configure environment variables
- Deploy using Heroku CLI
PythonAnywhere
- Upload project files
- Configure WSGI file
- Set up virtual environment
- Run migrations
VPS/Server
- Set up server with Python and Django
- Configure web server (Nginx/Apache)
- Use Gunicorn as WSGI server
- Set up SSL certificate
Contributing
- Fork the repository
- Create a feature branch (
git checkout -b feature/AmazingFeature) - Commit your changes (
git commit -m 'Add some AmazingFeature') - Push to the branch (
git push origin feature/AmazingFeature) - Open a Pull Request
License
This project is licensed under the MIT License - see the LICENSE file for details.
Author
Tuhin-SnapD
- GitHub: @Tuhin-SnapD
- Project Link: https://github.com/Tuhin-SnapD/Django-E-Commerce
Acknowledgments
- Django Documentation
- Bootstrap
- Font Awesome
- Picsum Photos for stock images
Support
If you have any questions or need help, please open an issue on GitHub or contact the author.
⭐ Star this repository if you found it helpful!